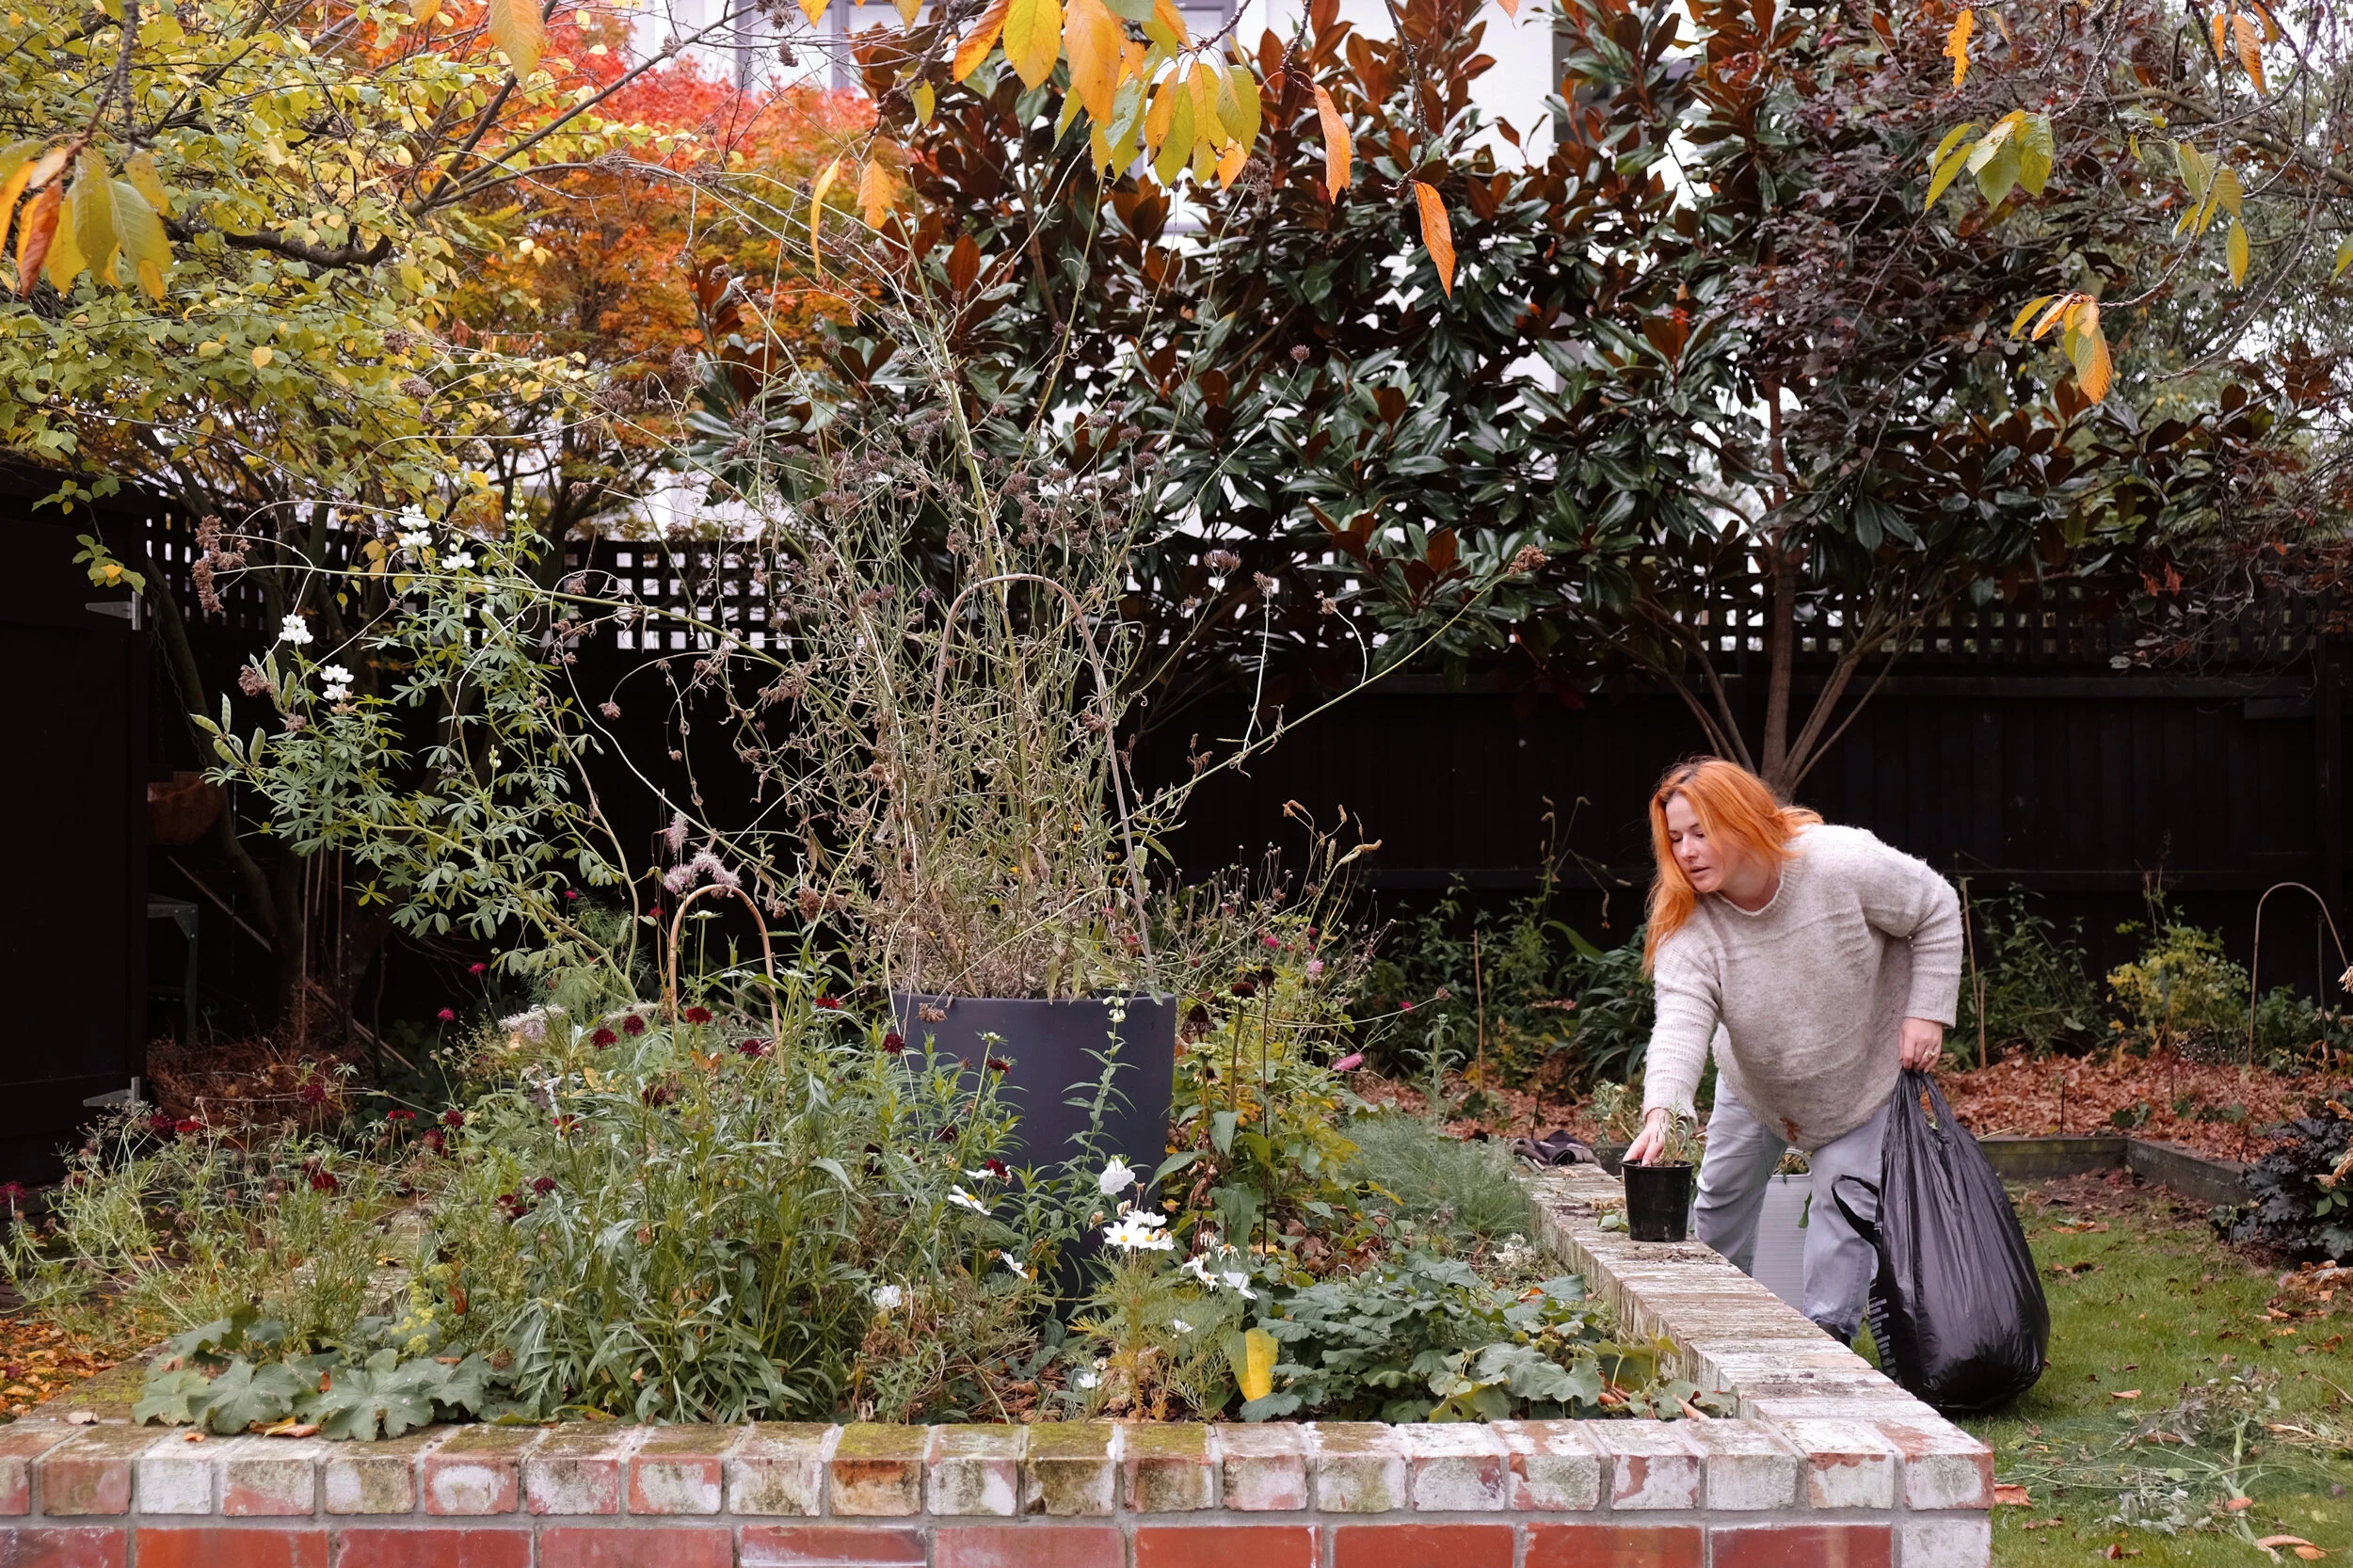
Putting your flower garden to bed for winter
/One sticking point for me, as I ventured into growing a seasonal flower garden, was what did the books actually mean when they talked about “putting the garden to bed for winter”?
It sure had a delicious, cosy ring to it, but beyond weeding, preparing the garden for the cold months was a bit of a mysterious concept.
It’s not that I hadn’t noticed the beds of tired seed heads and blotchy leaves waving at me, I just felt extremely intimidated at what and when I was meant to do anything about them.
Bearing in mind that different parts of New Zealand stray from temperate to starkly chilly at this time of year, your garden will mostly give you its own signs that bedtime might be close.
In the south, the first frosts really speed up the decline of annuals and perennials. You can tell by their very droopy, soggy or blackened foliage and the distinct lack of new flowers.
Equally, even in warmer climates, some flowering plants will naturally start to die and others begin shooting new growth from their base only. This general bedraggled vibe signals your perennials are preparing for dormancy and your annuals are giving up the ghost.
I have since discovered that pre-winter prep essentially covers a checklist of autumn planting and dividing, snipping, weeding, feeding and mulching. It’s the big effort before a somewhat chilled out few months. It also isn’t an exact science and, I have found, in my lack of experience, that chopping back “too hard”, “too early” or “too late” hasn’t resulted in any dire circumstances.
Lucky for all of us, our gardens want to go to bed and are keen to get up again in springtime, even if we get the following jobs a little wrong. Scoot around and do a solid weed, giving your topiary or evergreen shrubs a wee haircut at the same time to get them tidy for winter when they’ll produce little growth.
Armed with secateurs, snip decaying stalks from perennials that are looking sad, rather than architectural. This means chopping them right back down to their root clump, where you may notice some short fresh growth preparing itself for spring. Some perennials display this, others will go on to recede completely out of sight, underground.
If in doubt, a quick search online will give you the specific care information for your individual plant species and better yet, plunge a stick in the ground nearby so that you remember who lives there, even when you can’t see them. You might also choose to leave the strong sculptural frames of some flowering plants and grasses to provide snacks for birds, chopping back to new low growth or around 20 cm in mid-to-late winter. I often leave phlomis, perennial grasses, verbena bonariensis and rudbeckia seed heads on the plant for longer, as they do offer some visual interest.
Limp-looking annuals can be pulled out, or left a little longer if you are keen for their ripe seeds to drop freely to encourage a fresh crop next year – that one is up to you. The same could be said for your enthusiastic perennials that you know will take over if their seeds reach the ground. Now would be the time to snip those stalks off in avoidance.
This is also a great time to dig up the clumps of your perennials, drive a sharp spade through them and divide to replant as multiple, new plants. It’s a favourite activity of mine for the abundant rewards in the following growing season.
Next, you need to “pull the blanket up” – so to speak – by feeding your soil and adding a layer of mulch to insulate over winter, keeping plants, worms and their microbe friends happy. This also helps to suppress eager weeds. Compost can be homemade, purchased in bags, or by the trailer load. Whatever you can afford or have the time and means to get. Aged horse manure, sheep or chicken pellets, blood and bone or all-in-one locally produced bagged products will all benefit the continued health of your garden.
There is no need to get too physical here, just gently fork in approximately a 5cm layer to the top of the soil, leaving some breathing room around the base of stems or trunks to avoid any chance of rotting. This will be naturally absorbed over the winter months. leaving your garden beds refreshed.
Equally, if you are transplanting divided perennials, or popping in bulbs, drop some compost into the hole at the same time to give them, and the surrounding earth, a boost.
Finally, an overall topping of mulch will seal in all your good work. Natural, organic matter is best here, with options like pea or linseed straw, grass clippings and my personal favourite, shredded leaves. If you don’t have a leaf blower (I know the strong opinions on that word) that can suck up and shred leaves, you can also spread them across the lawn and mow over the top, racking up the remains. A nice chunky layer will slowly be absorbed into your garden over time, acting as a conditioner and helping loosen up soil going forward.
“I think this “putting to bed” business is the “work” that non-gardeners fear in creating a seasonal garden. But a few sessions of huffing and puffing in the crisp autumn air, combined with the deep satisfaction of a tidied-up plot, quite honestly is worth it. Even better are the months of results to be enjoyed over spring, summer and the following autumn. The work truly doesn’t outweigh the reward.”
This article was first featured in my Stuff ‘Homed’ gardening column for beginners and The Press on May 6th 2021
All words are my own and images are my own, photographed in my own Christchurch garden.


