Flowers for the table - Part 1.
/My pathway to growing a garden was fully inspired by the promise of picking for my home, providing a gateway and motivation to learning to grow my own “soul food”.
Over this article and Part II, I’ll share entry level tips to harvesting, preparing and displaying your own blooms inside. It’s an uncomplicated activity that offers a reprieve in a busy day and a distraction for a busy mind. The growing of “soul food”, as opposed to actual ‘food’, is of different, but of worthy value to your wellbeing.
Abundant stems of flowers in the garden are equally enjoyable in a vase, yet filling your home with flowers undoubtedly causes an aesthetic blow to the beds they came from. Harvesting for the vase, ultimately takes away from the atmosphere you have cultivated in your garden, but there are ways to reduce the impact.
The No.1 option would be to nominate a bed as a “cutting garden” that you can rampage through with snips and not pillage your general gardenscape. The second alternative, is taking the time to nibble blooms from the back of the plant and spots with less visual impact. Sometimes, I’ll even wait until I know a flower has days left of being at its best, snip off and pop into a short-lived arrangement, getting the best of it for both inside and out.
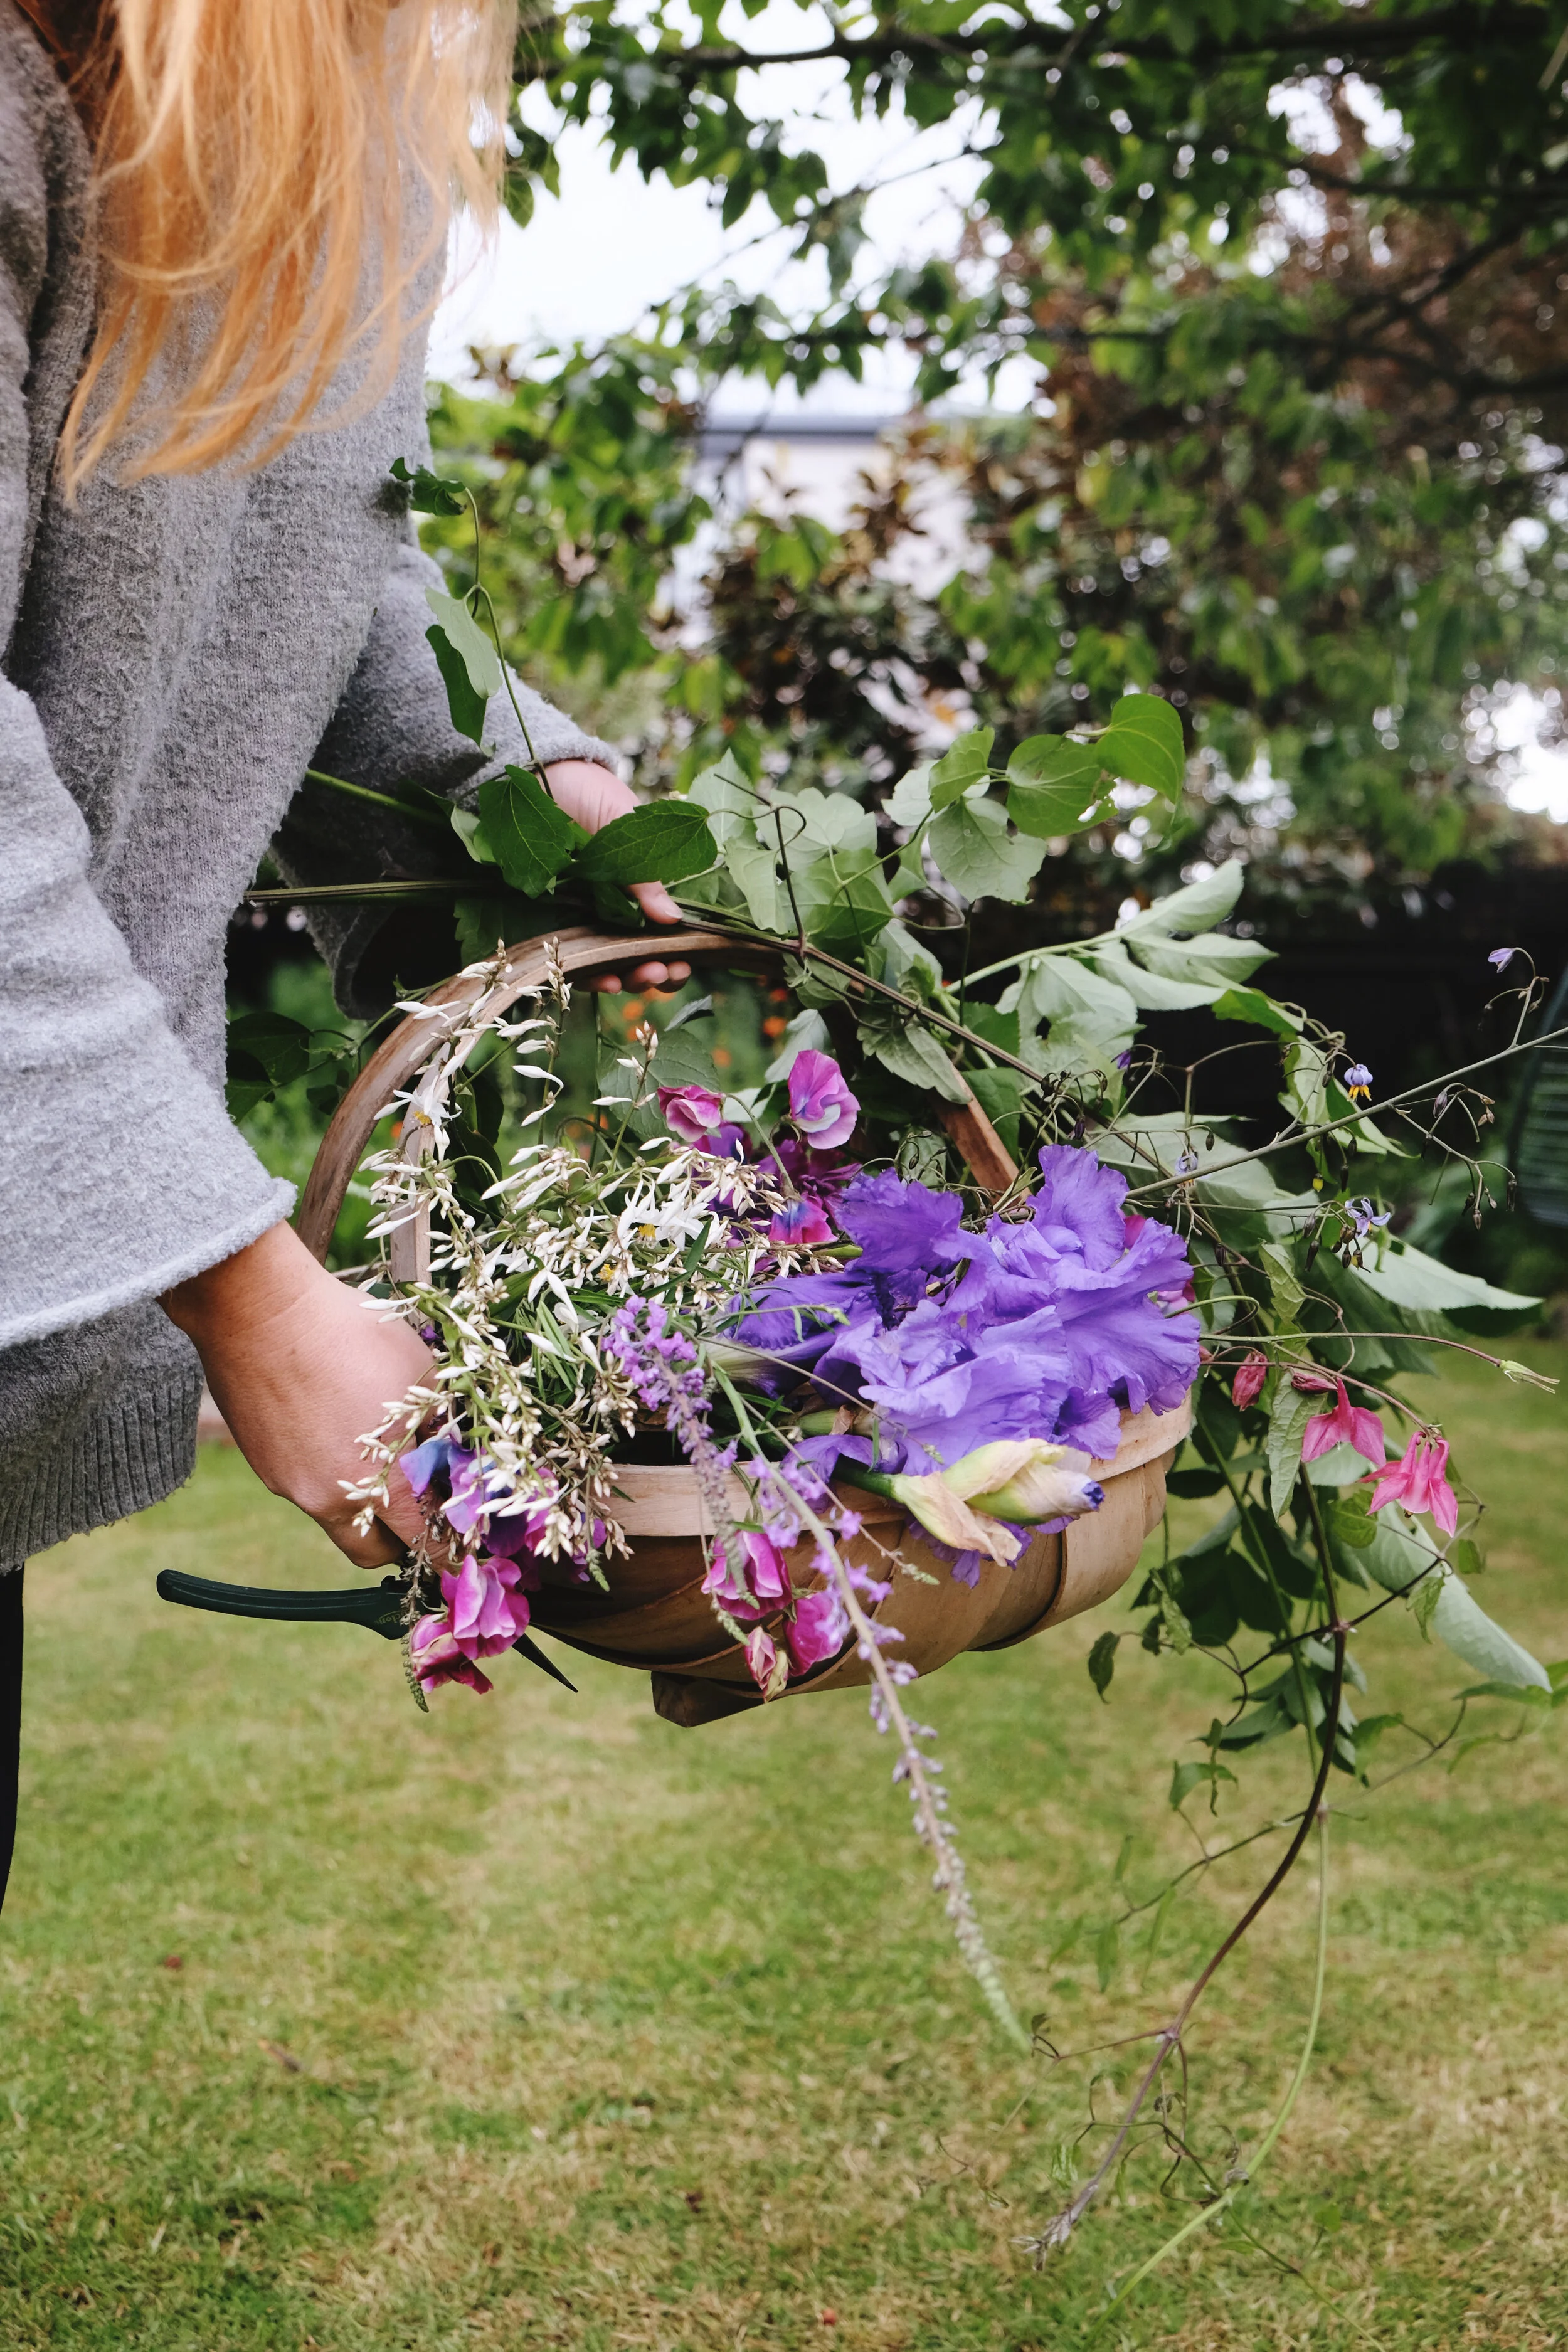
Sweet peas, geum, astilbe, foxgloves and honeysuckle in a trug ready for arranging.
Homegrown flowers in a preserving jar
VASES AND SUPPORT
Anything goes. Glasses, mugs, jugs, jars, bottles and any other watertight vessel. Part of the fun and creativity of displaying your flowers is to play around with what they are in.
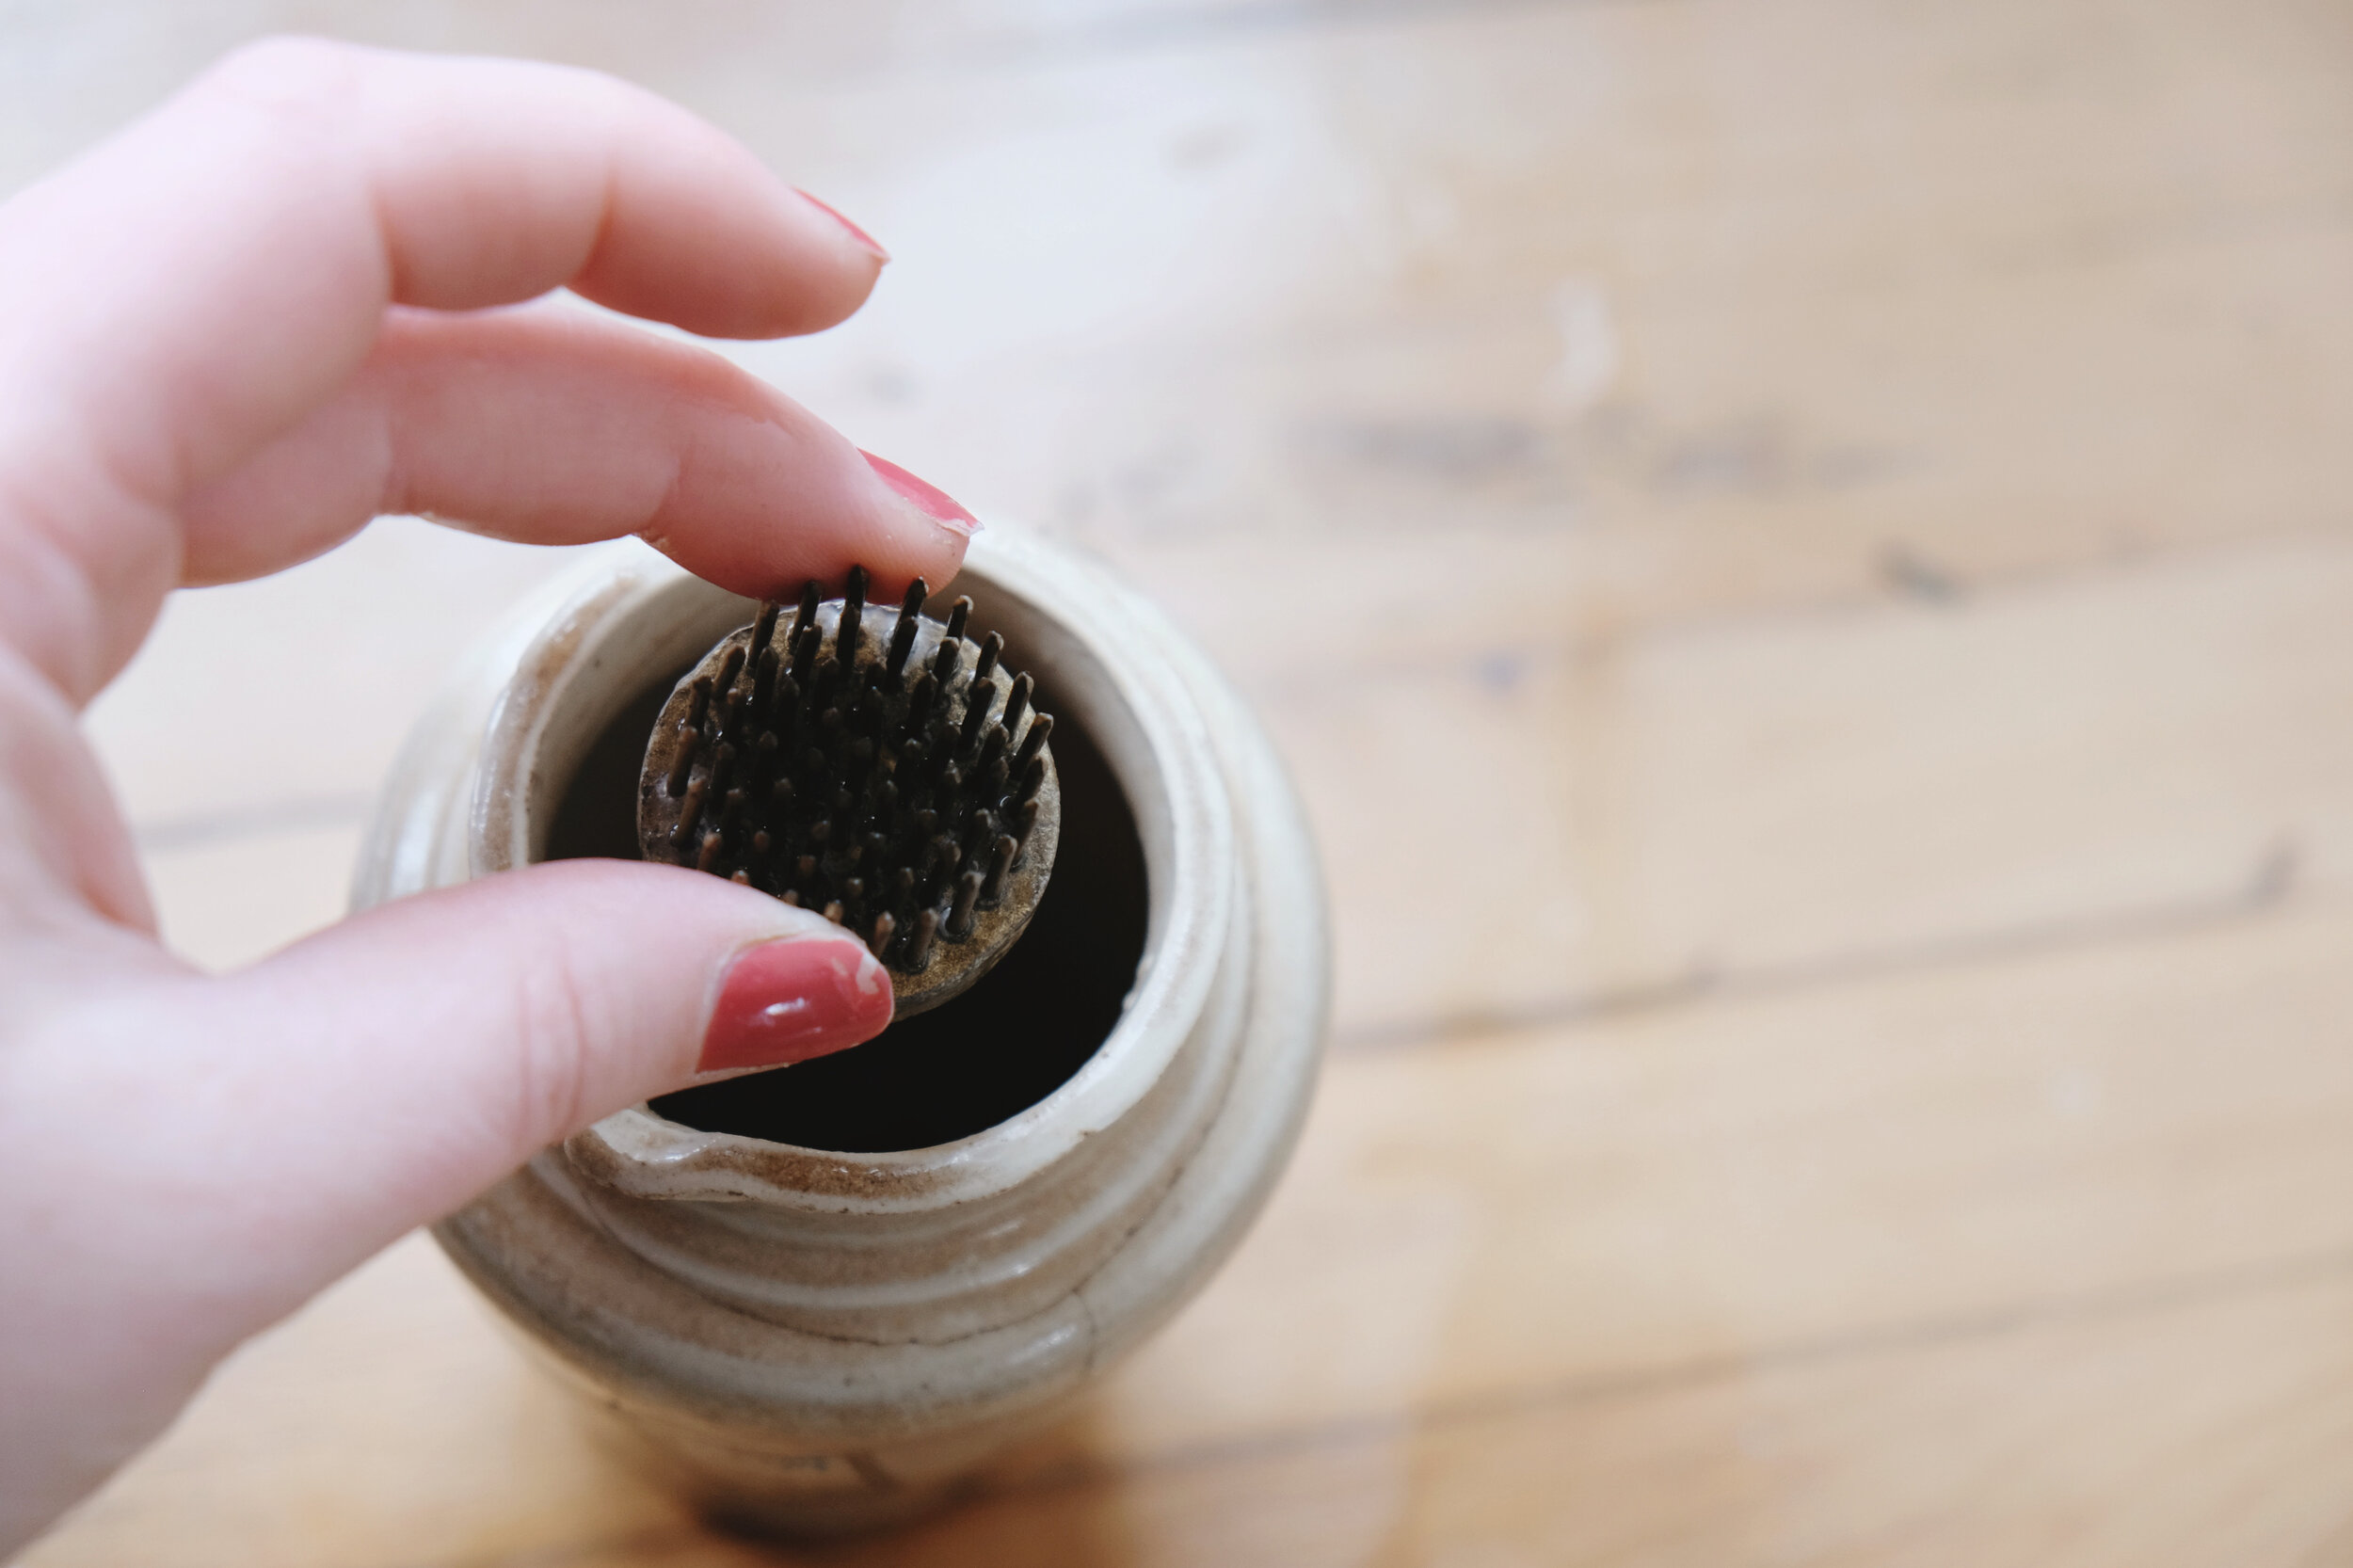
Vessels with narrow tops are handy for supporting stems, however, you can’t fit as many in. Wide openings present a new challenge, as they remove a lot of support, but, in my eyes, open up the potential for that lovely rambling vibe. Remember those heavy, spiky metal squares and rounds at your gran’s house? These are called flower frogs, or commonly now known as “kenzan”, and are very handy. Scan online trading platforms and second-hand shops for the originals or search online for the modern versions. They simply sit at the bottom of your vase and you build your arrangement by spiking stems into their centres.
A flower frog or ‘kenzan’ is a heavy, spiked metal tool you can drop (or secure with plasticine) to bottom of a vase to help support flowers in an arrangement.
Another fantastic, liberating option is chicken wire. I prefer the coated type and roughly cut up a square of it, guestimating around 1.5 times the size of vessel it needs to fill. I then crudely curl it over to create a pillow form and push inside the vessel. This acts as a reusable and super effective support for stems in all manner of vases.
If you are dealing with longer, heavier stems, you would want to add some extra support by criss-crossing the rim of the vase with florists’ “pot tape”. It is skinny, very sticky tape that you can easily procure online. However, mostly, I find that the chicken wire can be jammed pretty well into the vases if the top is narrower than the base.
Coated chicken wire in a large soup bowl secured with florists pot tape
TIPS FOR HARVESTING
For picking, it’s often easier to use finer-nosed snips, or even scissors, as opposed to secateurs, which are heavier and harder to be precise. It’s best to pick in the morning or evening – outside the heat of the day –to give your flowers the best chance of survival.
When harvesting blooms, you are aiming to select for optimum potential of vase life, length of stem and cut in a way that encourages your plant to keep flowering. To be honest, mostly you just have to take what you can get and short stems with overly mature blooms might just have to be it.
Freshly harvested sweet peas using garden/florists snips
As plants move through their seasonal life cycle, flowering stems seem to get shorter, so don’t stress, just make cuter posies. In most situations, choosing blooms that have opened about a third-to-a-half, with the remainder still in bud, will give you an advantage to lasting longer in a vase – this is particularly true for foxgloves, delphiniums and snapdragons.
Once flowers have been visited by pollinators, their vase life is greatly reduced. Others need to be newly, but fully open, with mature colour and strong stems, rather than floppy, juvenile ones. This is relevant for many plants like dahlias, cosmos and also umbellifers like fennel and Queen Anne’s lace.
Once you have chosen your flowering stem, slide your snips down to where it meets the main stem and make a clean cut. It’s in this little intersection that many flowering plants will be encouraged to generate new growth, equalling renewed display for your garden and another round of potentials for the vase.
For roses, look to cut just above the node you see on the stem, this is where new growth will generate from.
For diligent harvesting practice, you can scout the garden with a half-filled bucket of water, to give instant relief for flowers while in transit. If you don’t muck around too much I find that a trug, or just my hands, does a good job getting them from garden to kitchen.
Gathering spring flowers in a trug
CONDITIONING
As soon as you have picked, pop your bunch of stems promptly into a jug or sink of water to keep them happy. They love it right up to their necks, if possible.
Some plants are sulky and give you a very short window after cutting before they will start to irretrievably wilt, if not sunk into water quickly.
Before you set up your vase, whip through the stems and condition them ready for arranging by stripping and trimming all leaves, branches, or thorns that you think will sit below the waterline. Woody stems (like branches of blossom, hydrangeas and roses) are helped along by cutting twice. Once across the stem on a 45-degree angle, then again, around 5 cm or more vertically “up” the stem to split it open, allowing for greater surface area to hydrate from.
Other flowers (like poppies and hellebores) benefit from a quick sear in boiling water to help prevent them wilting in the vase. A 10-second dip of the bottom 5 cm of a stem before going straight into a vase of cold water can work well.
Searing hellebores in boiling water
Some plants like daffodils and euphorbia are super sappy and should be handled with care, avoiding getting the sap on your skin. Cleanly snip them just once, then pop into their own jug of water to allow the sap to dispel and the stem to slightly seal, before including in your arrangement. The sap can be toxic to your other blooms, so this little rest period is helpful.
If you are finding your favourite garden flowers are not doing well in a vase, a quick search online for cutting tips is well worth it.
Next time, I’ll offer up ideas on arranging and displaying your flowers around your home.
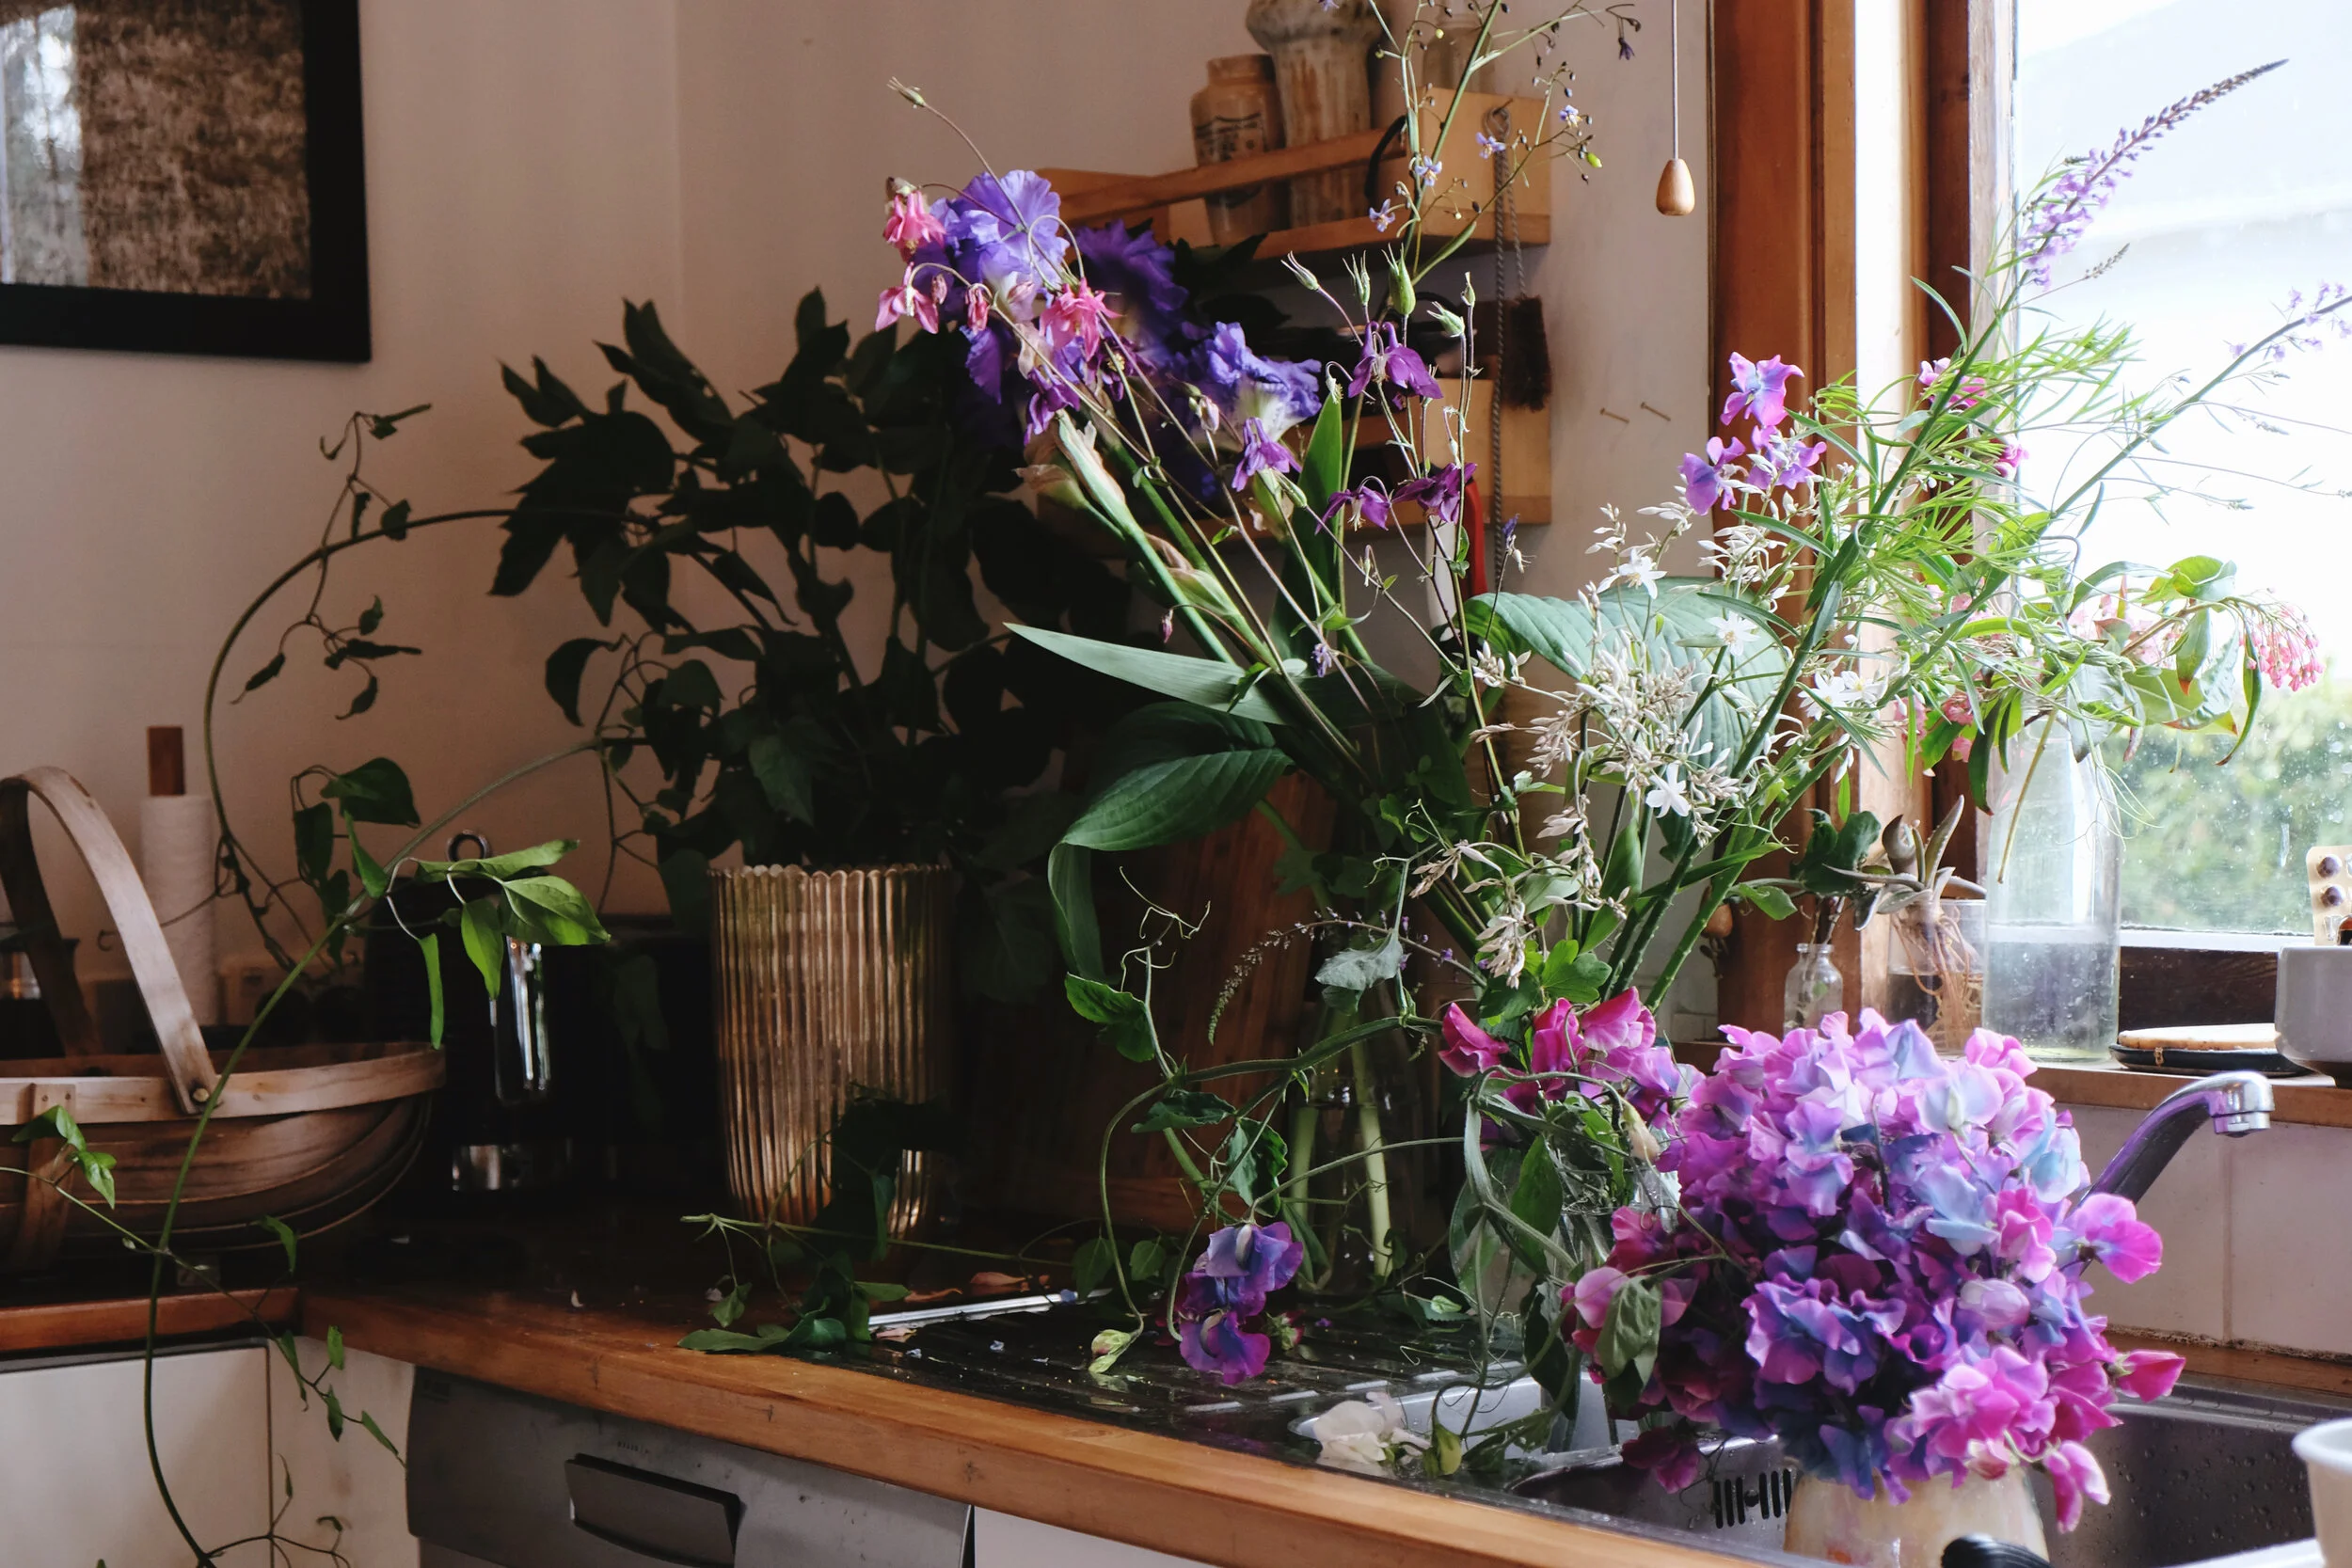
Flowers in water waiting to be arranged
See Part 2 of “Flowers for the Table” to read tips on creating arrangements that are casual and fun plus tips on caring for you vase of flowers for best results.
This article was first featured in my Stuff ‘Homed’ gardening column for beginners and The Press on November 26th 2020
All words and images are my own, shot in my garden in Christchurch, New Zealand.


