Flowers for the table - Part 2.
/Growing up, it was the norm that a little vase of pickings would arrive on our bedside tables, a given when we returned home to stay as adults.
The spare room was never “ready” for visitors until Mum had popped a bunch of something on the drawers. The kitchen table looked nude without a gang of seasonal happy faces taking up their permanent coaster.
As a new gardener, I’ve found homegrown flowers on display to be casual, sentimental and friendly, pulling what is going on outside, indoors and into your daily life.
In my first few years of enthusiastic home-based flower arranging, I found building bunches in narrow necked vessels like old milk bottles a little easier to get going. As I discovered that playing around with my produce is akin to meditation, I have become keener to experiment with size and flower types.
I have found great inspiration from books like A Year in Flowers by the iconic Erin Benzakein of Floret Farm in the USA, A Tree in the House by the fantastically creative Annabelle Hickson and the IGTV and online floristry course of UK’s Willow Crossley I honestly find better than the Headspace app.
“For me, playing around with the display of flowers comes only second to growing them in my garden. It’s creativity for the sake of it, existing in peace behind my own front door and turning a blind eye to standards upheld by those making a living selling their creations.”
It’s fun to know the basics and mechanics, but mostly only to then break them as I am my only client and I choose to be extremely non-judgemental. Gappy, stumpy, wonky, unbalanced and battling colour palettes are a by-product of selecting from a small, seasonal library of flowering plants and the results are always distinctly domestic and homely. Just the way I like it.
A casual spring bunch with Icelandic poppy, pansies, daisies, aquilegia, geum, thyme, sweet peas, nemesia and thalictrum foliage.
BUILDING AN ARRANGEMENT
To encourage you to start arranging your own flowers indoors, I would recommend these simple tips:
Before you start building your arrangement, consider where it will sit in your space. Does it need to be viewed from all angles? Or will sit with back against a wall? This will mean you will construct it to have the action looking best where it will be seen.
Don’t forget foliage. Use it to firstly map out the vague shape and height that you would like to see for your completed arrangement. Consider an asymmetry outline for a casual look, including some of your shorter stems swooping around the lip of the vase.
Aim for your arrangements to be around 1-2 times the height of your vessel, for a comfortable scale.
Backfill with your variety of blooms, staggering heights and scattering to balance, doing your best with the lengths and quantity you can afford from your garden. Don’t seek out perfection.
Work with the natural bend and wonkiness of stems, testing which way they want to point in the vase, instead of forcing them into submission. You will lose…
As an amateur arranger, limited to your garden’s offering on any given day, it’s not always easy to have a showstopping “hero” bloom, or three, for each posy like you will often see in beautiful, professional bunches. Just gather everything you can get your hands on and have a play – the making is the therapeutic bit.
Alternatively, consider buying a bunch of exciting store-bought blooms to then add to your homegrown mixed arrangements. It’s best to seek out New Zealand grown in these cases, rather than out of season imports.
Arrangements of a single type of flower en masse looks lush, but a rag tag, mixed arrangement of everything flowering in your plot is equally satisfying and romantic.
Always re-cut each stem by 2 cm, on a 45-degree angle, before threading into your arrangement.
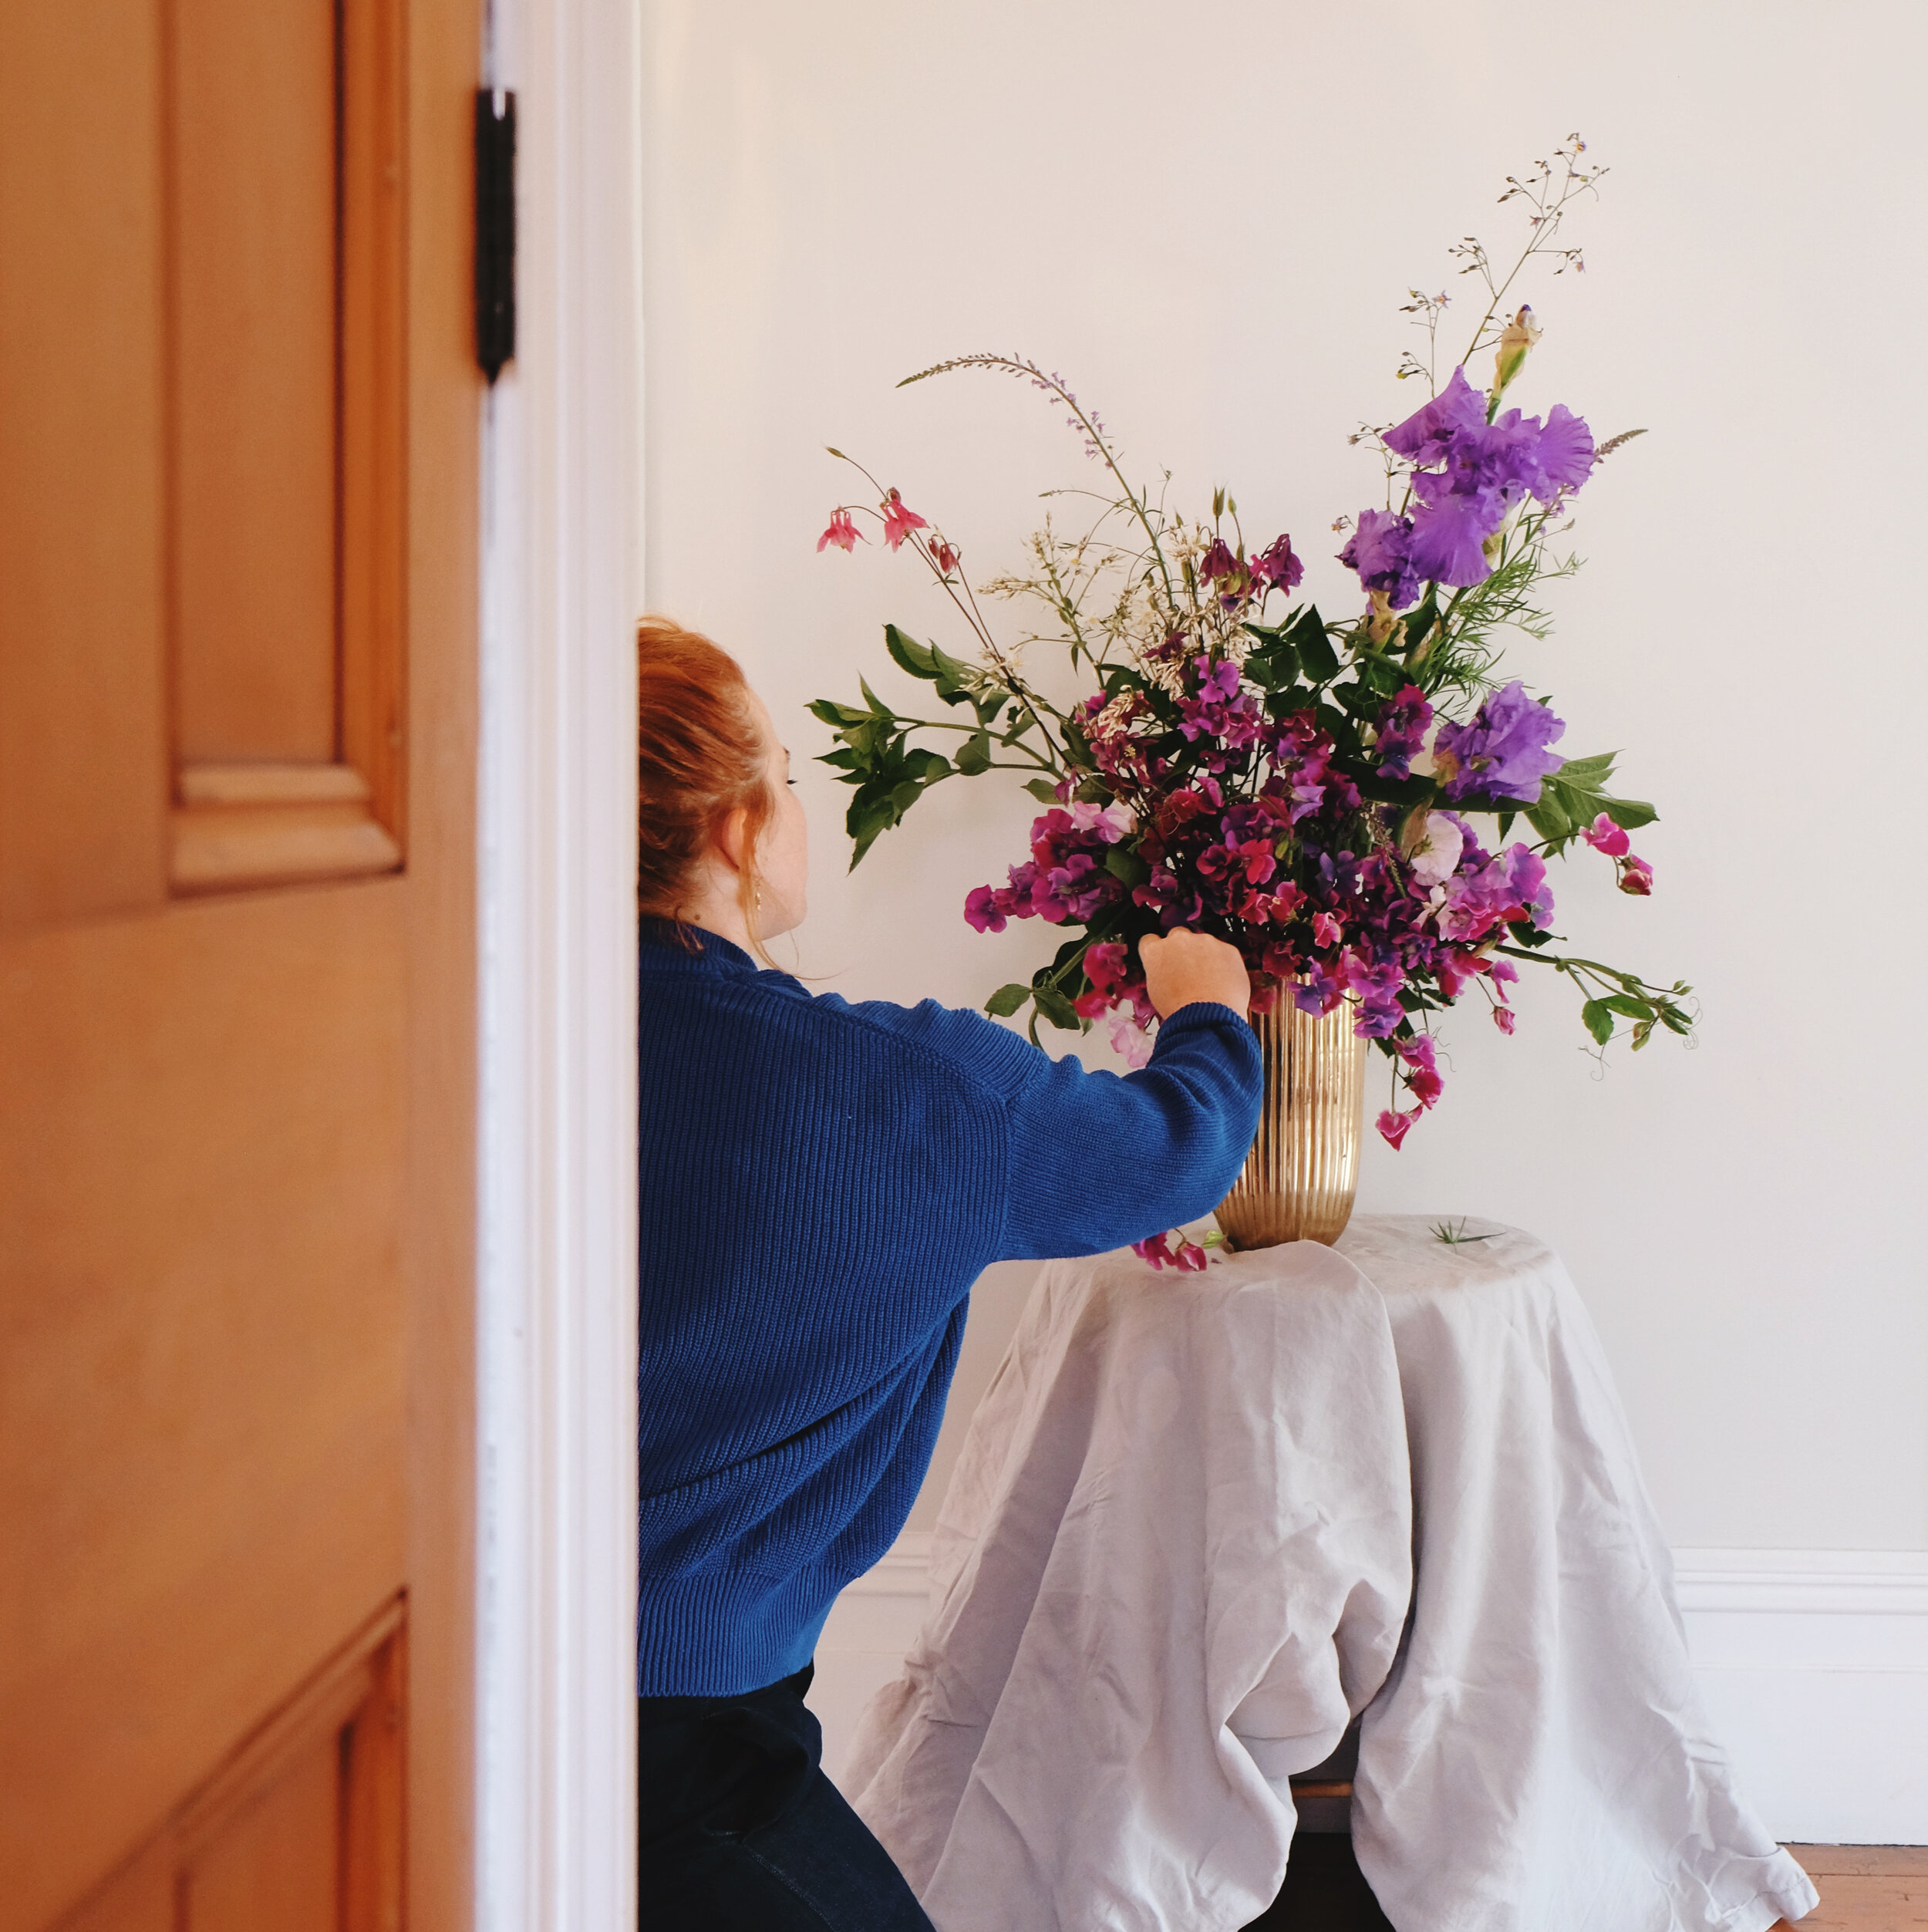
A homegrown arrangement featuring irises, sweet peas, aquiliegia, purple toadflax and elder foliage. This is arranged to be viewed from the front.
WHERE TO DISPLAY
I have a particular little wall-hung shelf in my kitchen, inherited from the previous owners that looks totally nude without a vase of something in it. Up there, it is safe from small visiting hands and my water-obsessed cat, and when empty, prompts me to take five and scoot around the garden with my snips to fill it. It’s become a little personal ritual.
A mini vase of delicate, fragrant pickings beside a bed or bathroom sink feels luxurious, despite being so simple. Meanwhile, the cool top of the logburner in summer is a great place for rescued tree prunings, or wind-tortured irises in spring. Don’t turn a blind eye either to flowering herbs and veggies, weeds and even grasses as little details to sprinkle around the house.
Early spring blossom in the kitchen
Mid spring bunch picked from my mums garden on my dressing table
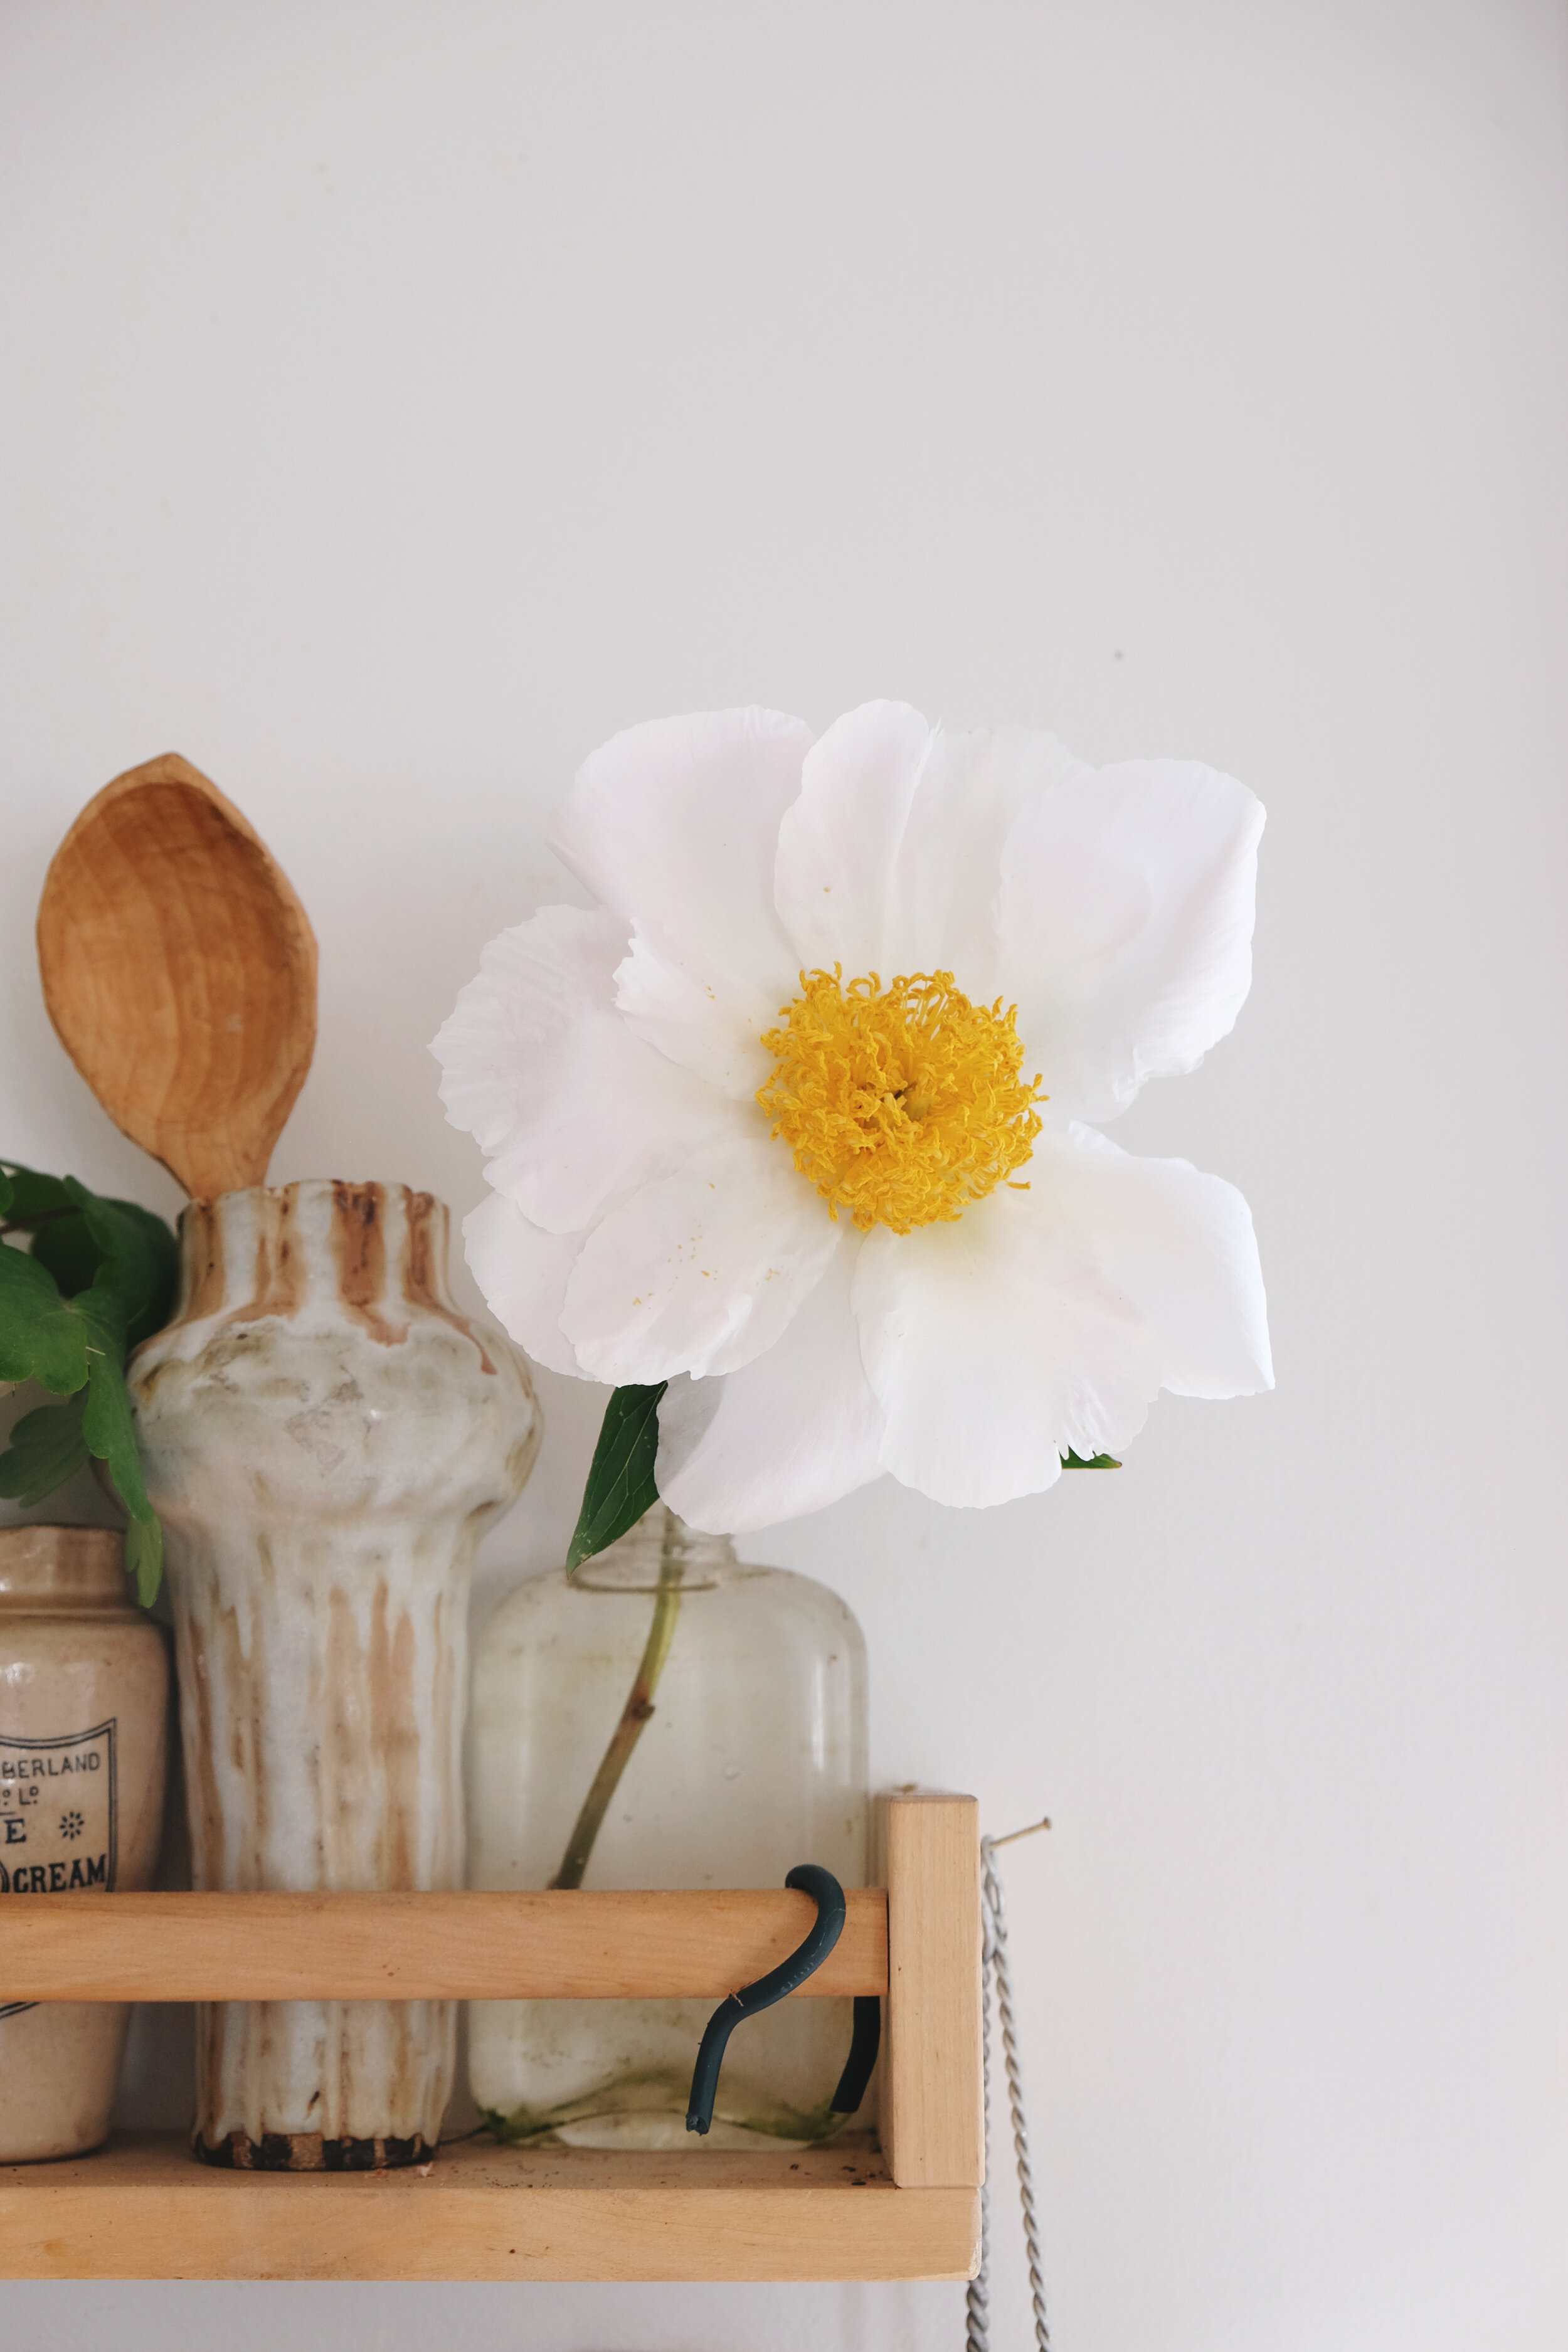
Even a single sprig of something is a nice way to connect the outdoors with the in. This is a peony from my Mum’s garden.
CARING FOR YOUR PICKED BUNCH
There are some fantastic products out there for extending the life of your arrangements – little sachets of perkiness used by many florists.
My mum has mentioned the odd dash of bleach, concoctions of aspirin or sugar can do wonders too, so it’s worth a google to decide for yourself.
However, for my home bunches, made quickly for our household to enjoy, I simply use fresh water in clean vases, topping up everyday and changing out completely when possible every 3 or so days. If easily accessible, I give all the stems a fresh snip too on day 3 too. If you have created a big heavy display, sometimes it’s just too tricky to do this, so don’t sweat it.
It’s really common for me to dismantle a fading vase of flowers, discard the dead stems to the compost and retrim the perky ones to include in another vase. Stems of love in the mist, fennel and rudbeCkia often migrate from one arrangement to another, multiple times over.
Arranging your own flowers is a simple joy and each change in season brings new fodder and ideas. Be inspired by other home gardeners sharing on social media as much as your neighbour’s window sill.
An early spring gathering from the garden featuring daffodils, hellebores, plum blossom, camellias and limequat foliage and fruit. And my water obsessed cat who tips vases over all the time….
See Part 1 of “Flowers for the Table” to learn tips on vases and supports, harvesting practice and conditioning your plants ready to be arranged.
This article was first featured in my Stuff ‘Homed’ gardening column for beginners and The Press on December 3rd 2020
All words and images are my own, shot in my garden in Christchurch, New Zealand.


